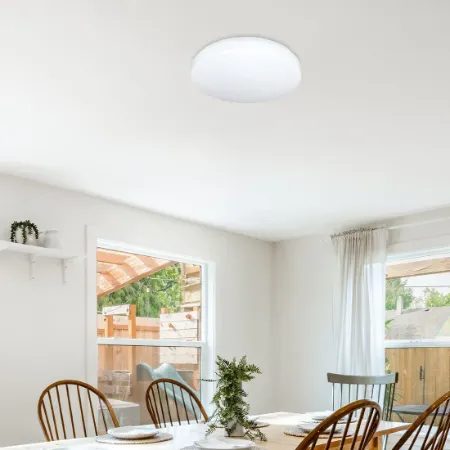
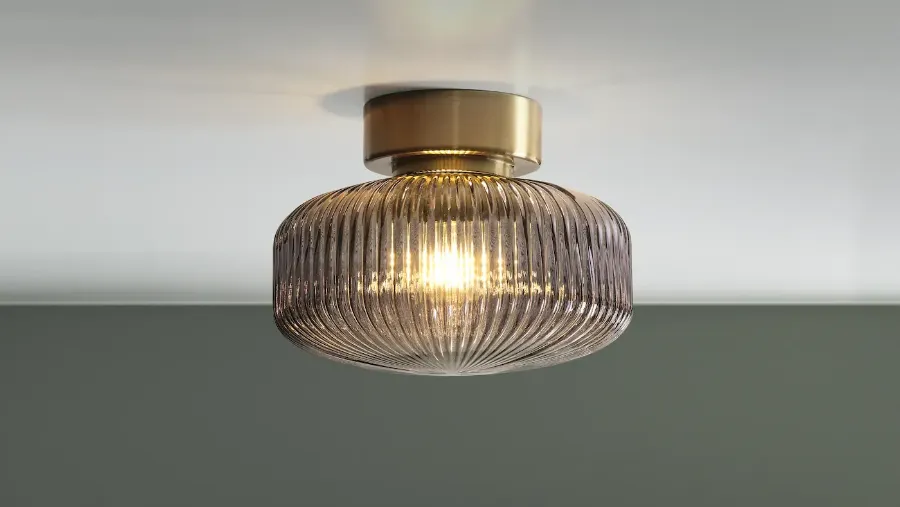
Changing a ceiling light is not difficult once you have the basic information. In this article, we're going to show you how to change your old fixture yourself without calling an electrician. It will only cost some common tools and an hour of your time. Here's how you'll cut the power off, take out the old light, and install the new light properly. With proper care, your new light will be shining bright and working in no time.
Step 1: Preparing and Ensuring Safety
Safety is your top priority when working with electricity. These steps will help you prepare properly.
Turn Off the Electricity
Switch Off the Circuit Breaker
Find your home's electrical panel and switch off the circuit breaker for the light fixture. Always verify the power is off by trying the light switch. For extra certainty, use a non-contact voltage tester on the existing fixture's wires.
Inform Your Household
Let others at home know you're working on electrical wiring and which circuit is turned off. This prevents someone from accidentally restoring power while you're working.
Gather Required Tools and Materials
Before starting, gather these essential items:
- New ceiling light fixture (compatible with your ceiling box)
- Screwdrivers (Phillips and flathead)
- Wire strippers
- Wire connectors (wire nuts)
- Voltage tester
- Sturdy ladder
- Safety glasses
For heavier fixtures, having a helper is recommended. Optional items include electrical tape, work gloves, and a headlamp for better visibility.
Review Your New Fixture's Instructions
Take a few minutes to review your new fixture's instructions. Pay attention to any specific wiring requirements or unique mounting hardware. If the manufacturer's directions differ from general advice, follow their specific guidance for your model.
Step 2: Removing the Old Light Fixture
With your preparations complete and power turned off, you can now focus on removing the old fixture to make way for the new one.
Remove Decorative Elements and Bulbs
First, take out light bulbs and set them aside. Then remove glass shades, covers, or decorative elements. Most shades either twist off counterclockwise or have small screws or clips holding them in place.
Detach the Fixture Base
Look for mounting screws or nuts around the edge of the fixture base that attach it to the ceiling. These screws are usually visible once you've removed the decorative covers. Remove these screws and keep them in a small container so they don't get lost.
Lower the Fixture Carefully
Once you've removed the mounting hardware, the fixture will hang only by its wires. Support its weight with one hand as you work on the next steps. For heavy fixtures, ask someone to help you hold it.
Check for Power Again
Before touching any wires, use your voltage tester on the exposed wires to double-check that the power is truly off. Safety first.
Identify and Disconnect the Wiring
You'll now see the wires connecting your fixture to the house wiring:
- Black wire - This is the "hot" wire carrying electrical current
- White wire - This is the neutral wire completing the circuit
- Green or bare copper wire - This is the ground wire for safety
Unscrew the wire nuts connecting these wires by turning them counterclockwise. Once removed, gently separate the fixture wires from the house wires.
Remove the Mounting Bracket if Necessary
Your new fixture may come with its own mounting bracket. If so, unscrew the old bracket from the junction box. If your new fixture uses the existing bracket, leave it in place.
Step 3: Preparing for Your New Fixture Installation
Your ceiling junction box is vacant, ready for your new light fixture. For a seamless and safe installation, numerous preparations are needed before completing the final connections.
Prepare the Exposed House Wires
Verify the ceiling junction box wiring before adding your new lights. Look for fraying or damage on the copper ends that could compromise your connection. Often indicating oxidation, discoloration reduces conductivity.
Remove roughly ¾ inch of insulation and break out fresh copper with wire strippers. To create compact, safe wire ends that make good electrical contact, gently twist the exposed strands clockwise. This essential preparation helps to avoid weak connections that can lead to intermittent or flickering operation.
Sort and Prepare the New Fixture's Wires
Before installation, you have to find the wires of your new fixture. The black wire—usually labeled—supplies current to your fixture. White wires with little insulation ridges are neutral return pathways. Grounding calls for either a green or bare copper wire.
Some decorative accents conceal their intended use with non-traditional wire colors or fabric coverings. Consult manufacturer documentation to find hot, neutral, and ground wire. Identifying these cables before installation lowers the dangers associated with installation.
Mount the New Ceiling Bracket
Mounting hardware of your fixture guarantees a secure installation. Aligning the screw holes, lay the new bracket against the junction box. Install the screws and tighten them till the bracket runs flat with the ceiling without stranding the threads.
This bracket alignment determines how evenly your fixture hangs; certain lights need proper alignment from the start while others contain moveable components to fine-tune placement after installation. See the instructions for your fixture for specific installation needs as manufacturers build each system differently.
Step 4: Connecting and Mounting Your New Fixture
Once the groundwork is done, installing your new light fixture is satisfying. Proper electrical connections and fixture mounting hardware are required.
Connecting the Ground Wire
Start with the ground-connected safety wire. Connect the fixture's green or bare copper wire to the ceiling ground wire. Turn them clockwise to wrap them tightly. Wrap and tighten the fixture's ground wire around a green ceiling box screw. Then twist a wire nut snugly over the connector.
Connecting the Neutral Wires
Next, connect the white neutral wires. Twist the white wire from the ceiling and from your fixture together. Make sure they are roughly half-inch firmly knotted. Cover these twisted wires with a wire nut and turn it clockwise until it is firmly fastened. To check the connection is strong, gently tug it.
Connecting the Hot Wires
Connect the black wires carrying the power now. As with the white wires, twist the black wire from your fixture with the black wire from the ceiling. Cover them with a wire nut, rotating it till it is tight. Pull gently to check for anything coming free.
Checking All Connections
Look at all three of the links. There shouldn't be any bare copper showing outside the tight wire nuts. To be sure they're safe, gently tug each. You can cover every wire nut with some electrical tape for additional security.
Tucking in the Wires
Fold the linked wires back into the junction box very gently. Steer clear of steep turns or tightly crowding them. Check that as you work no cables are pinched. Good wire layout keeps damage free and lets your fixture sit flush against the ceiling.
Mounting the Fixture
Line up your fixture with the mounting bracket. Depending on your fixture, you'll either:
- Use screws to attach the fixture to the bracket
- Connect the fixture to bolts with decorative nuts
- Twist the fixture onto threaded posts
Tighten everything until the fixture sits firmly against the ceiling without gaps.
Installing Bulbs and Covers
Put in the right light bulbs for your fixture. Check the maximum wattage rating to avoid overheating. LED bulbs use less energy while giving the same amount of light. Attach any glass shades or covers that came with your fixture. Make sure they're secure before you finish.
Step 5: Testing and Finishing Up
You've done the hard work of installing your new light fixture. Now it's time to make sure everything works properly and complete the project.
Restoring Power
Return to your home's electrical panel and flip the circuit breaker back to the "on" position. Remember which breaker you turned off at the beginning of this project.
Testing Your New Light
Walk back to the room with your new fixture and flip the light switch to test it. If everything is connected correctly, your new light should illuminate immediately. Take a moment to check that all bulbs are working.
Also look for any signs of problems:
- Flickering lights
- Unusual buzzing sounds
- Loose-looking fixture parts
If the light works perfectly, congratulations! Your installation was successful.
Quick Troubleshooting
If your new light doesn't work, don't worry. Try these simple fixes:
- Check the light switch - Make sure it's fully in the "on" position.
- Verify the bulbs - Ensure they're screwed in completely and aren't burned out. If you have a spare bulb, try replacing one to see if that's the issue.
- Inspect the breaker - Return to your electrical panel to confirm the breaker is fully in the "on" position and hasn't tripped.
If these quick checks don't solve the problem, turn the breaker off again before investigating further. You may need to recheck your wire connections or consult the fixture's instructions for specific troubleshooting steps.
For persistent issues, especially if you notice any burning smell, heat, or sparking, it's best to contact a qualified electrician rather than attempting advanced repairs yourself.
Finishing Touches
Once your light is working properly:
- Dispose of or recycle your old fixture according to local regulations. Many hardware stores accept old fixtures for recycling.
- Clean any fingerprints or dust from your new fixture with a soft cloth.
- Gather and put away all your tools.
- Enjoy your new lighting!
Replacing a ceiling light fixture is a practical skill that saves money and allows you to personalize your home's lighting. With this successful project complete, you might find yourself ready to tackle other basic electrical projects with confidence.
Brighten Your Home with Your New Ceiling Light Fixture!
Replacing a ceiling light fixture is an economical skill that makes your house more you. With proper safety measures and our five-step process, you now know how simple this can be. The self-assurance you develop from this project extends beyond better lighting—it gives you the confidence to undertake other home remodeling projects. This new skill, paired with your newly revitalized ceiling fixture, shines brighter than your room.


